Model Trains, Drones, 3d Printing, Miniature painting, RC Crawlers
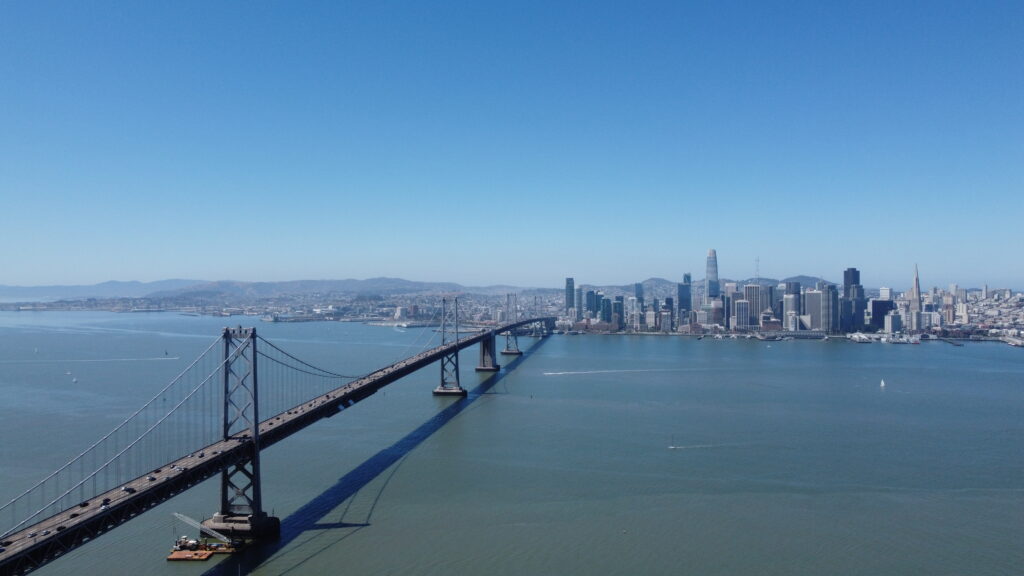
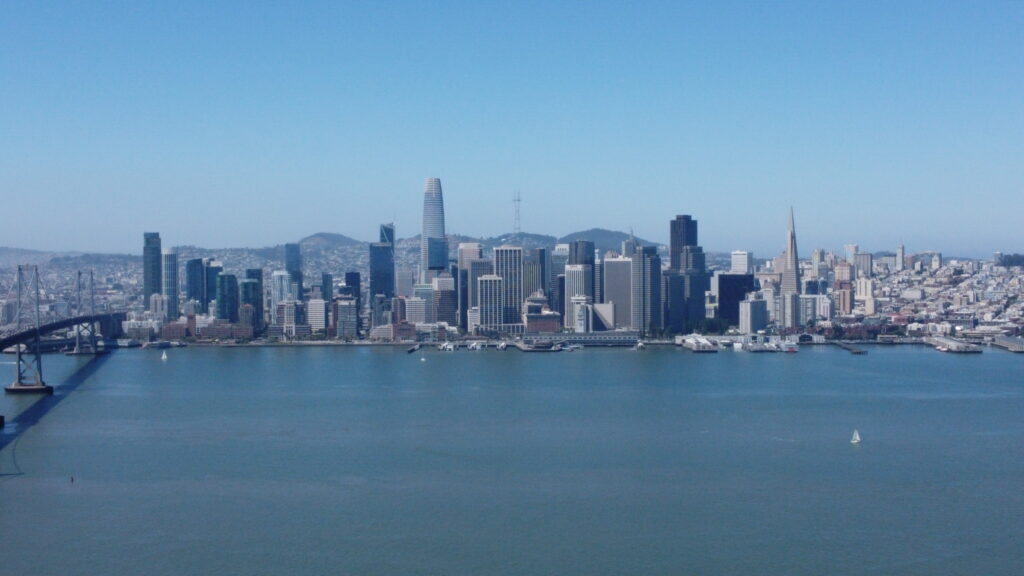
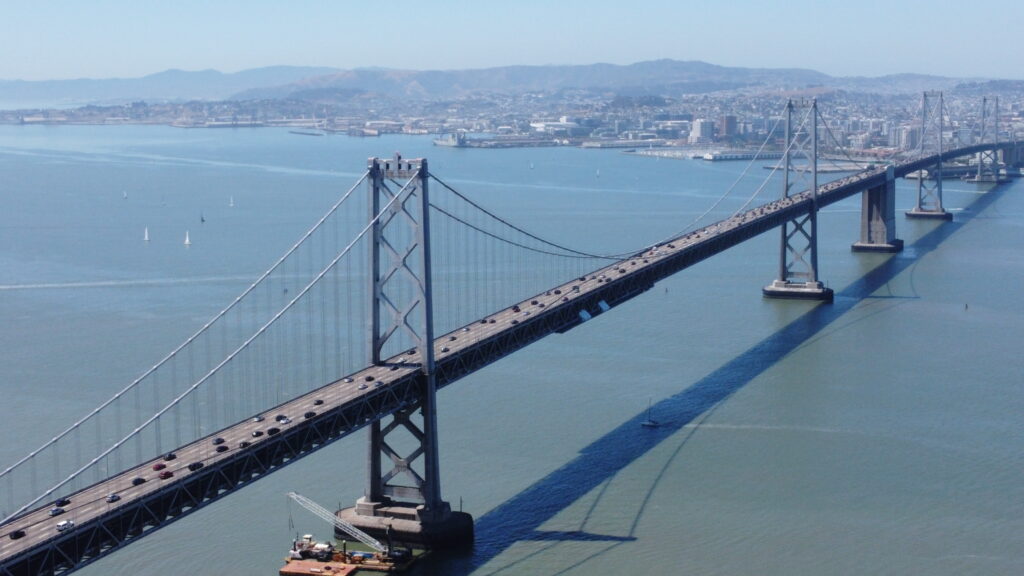
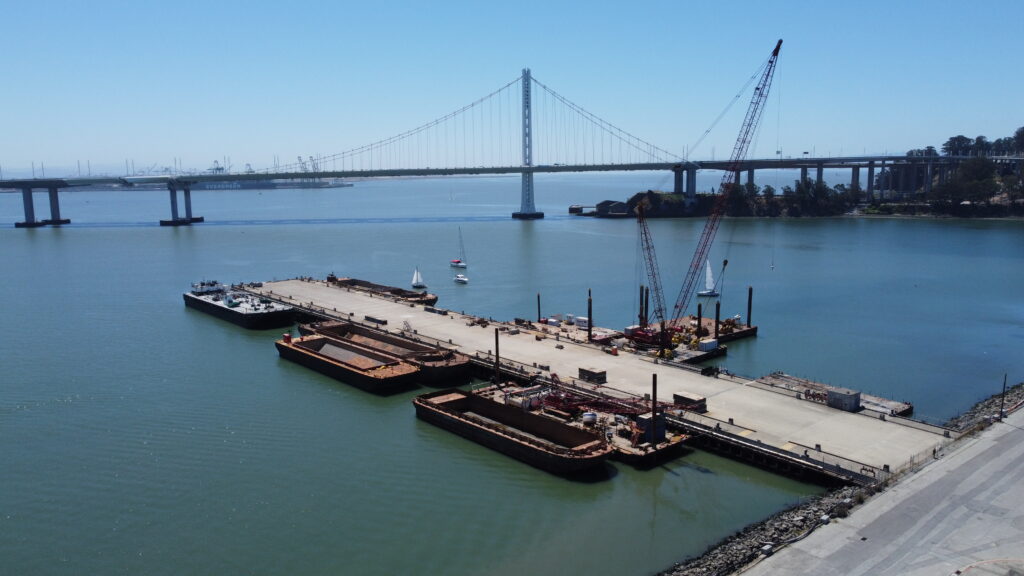
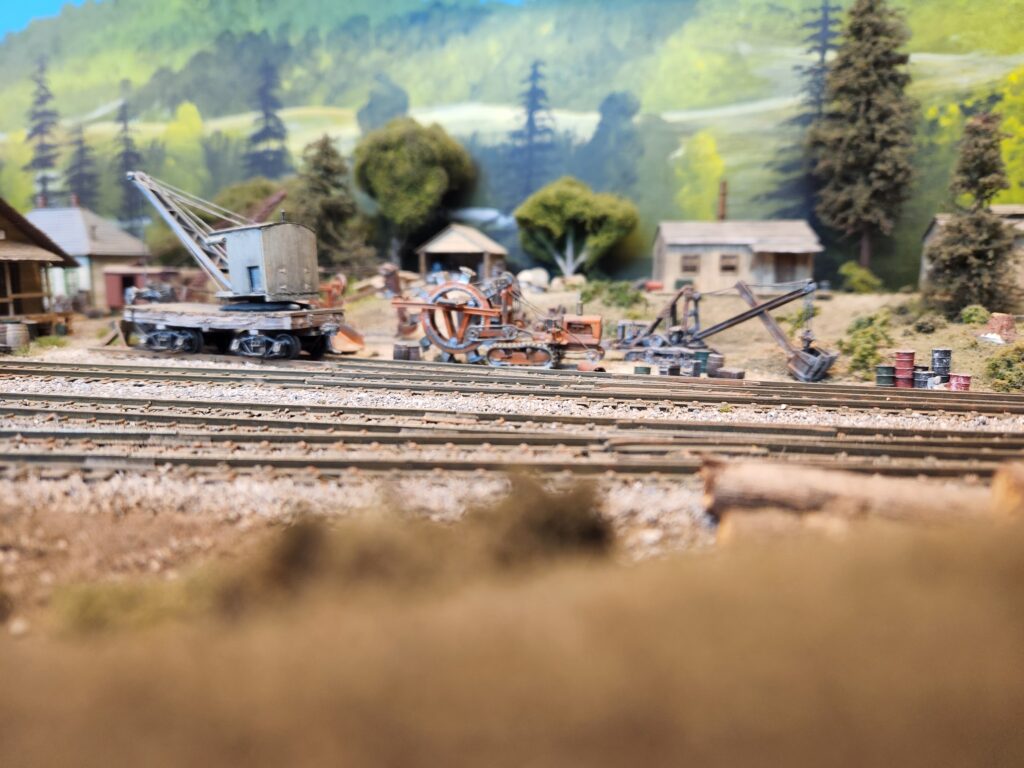
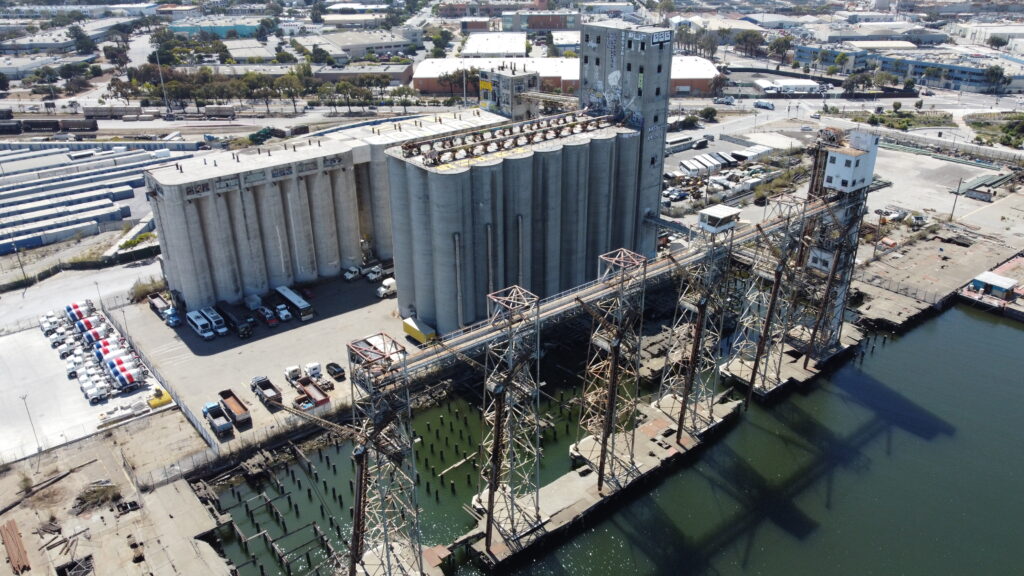
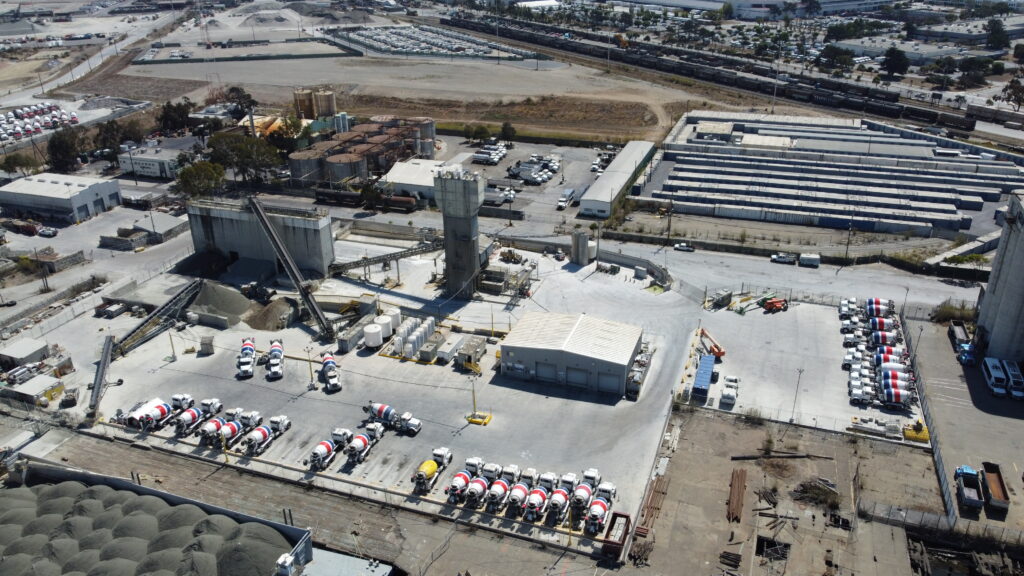
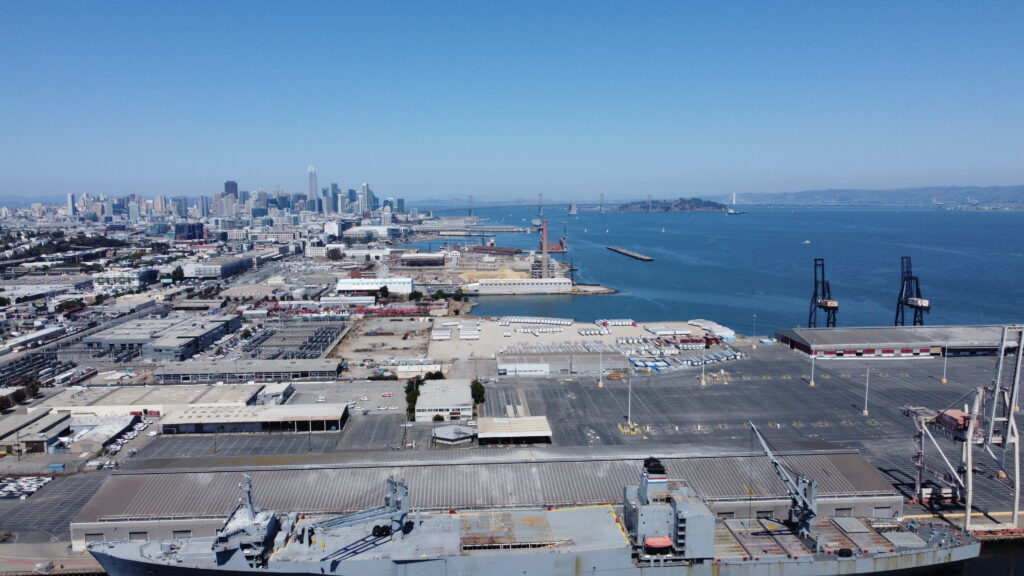
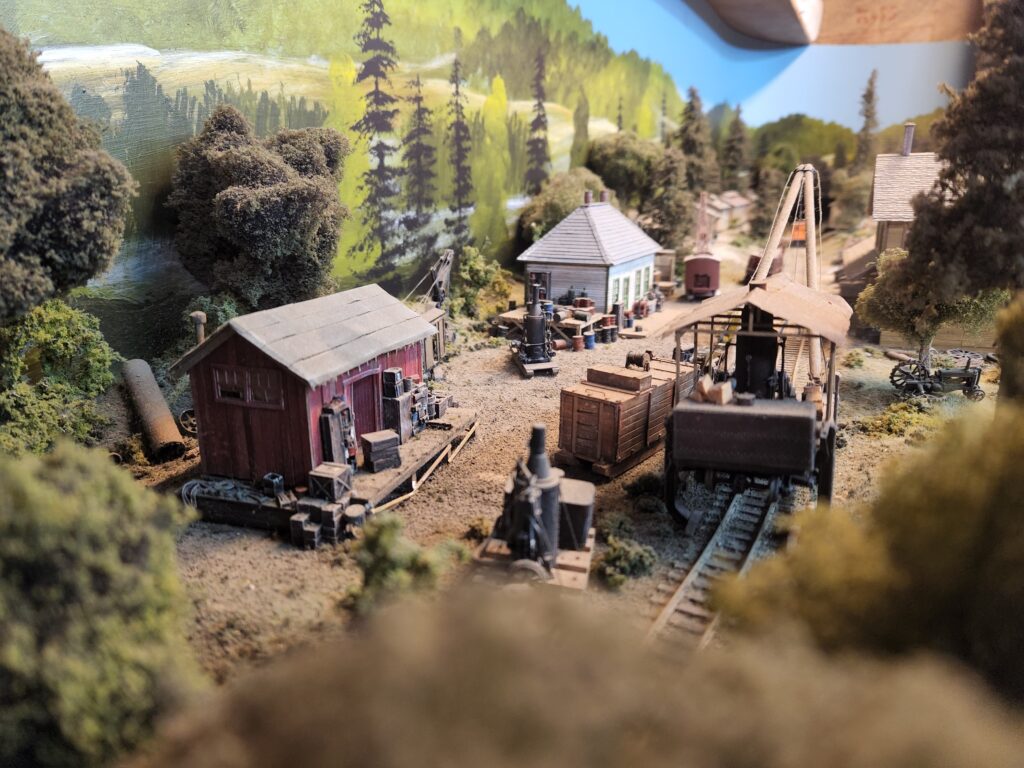
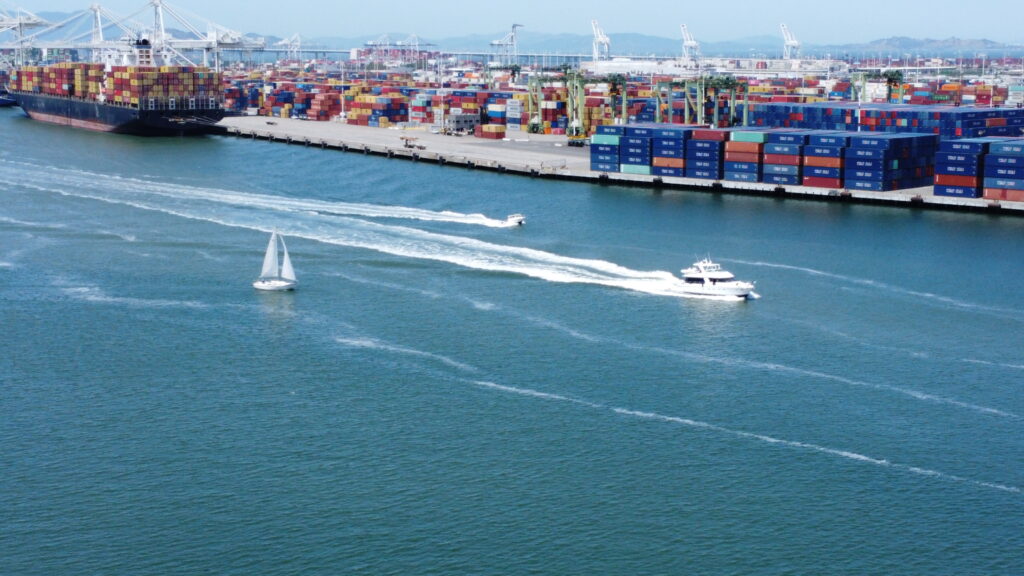
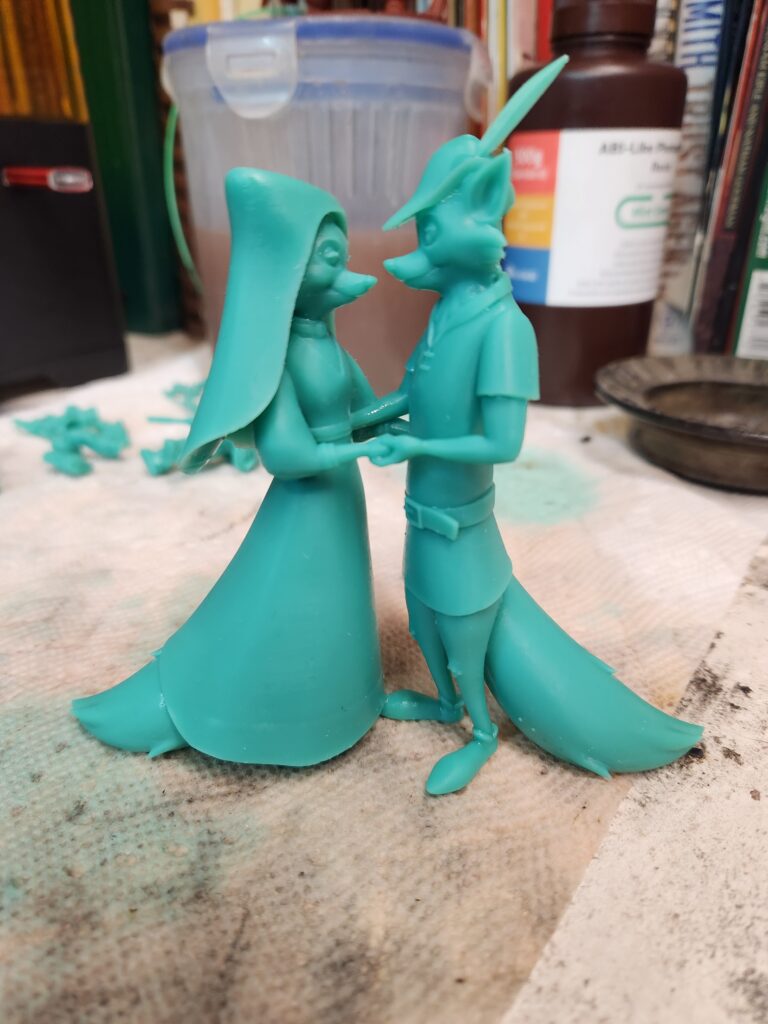
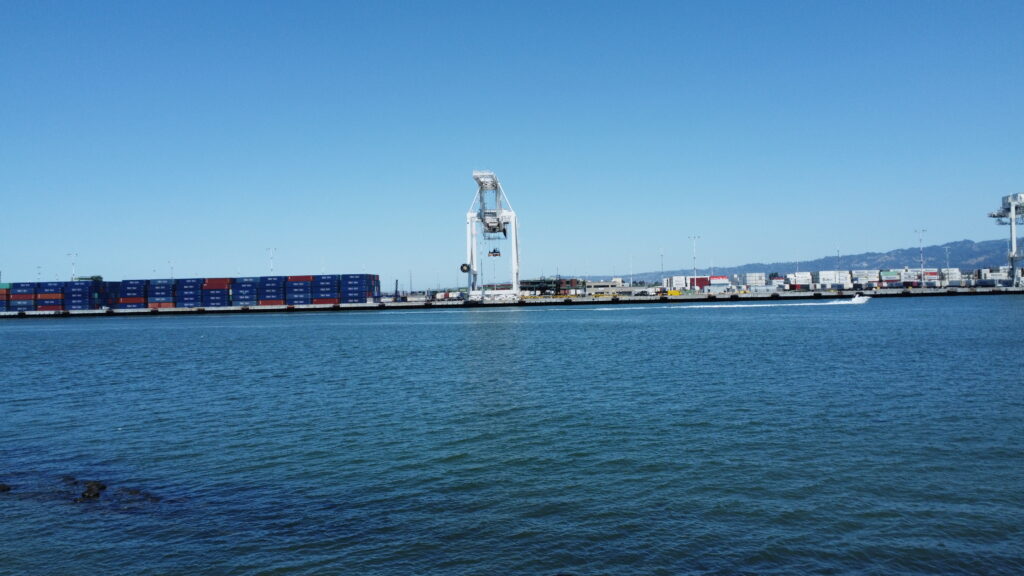
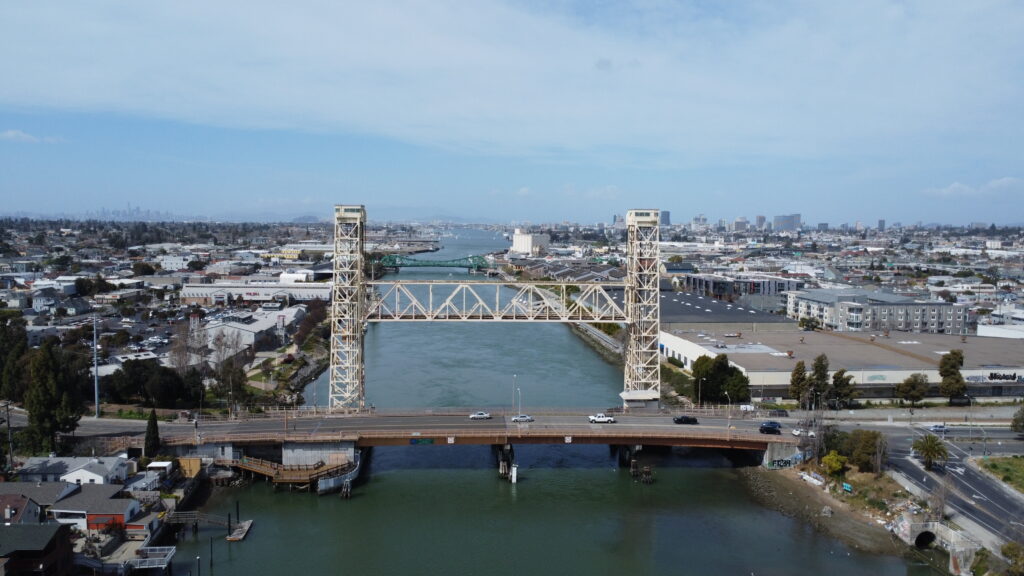
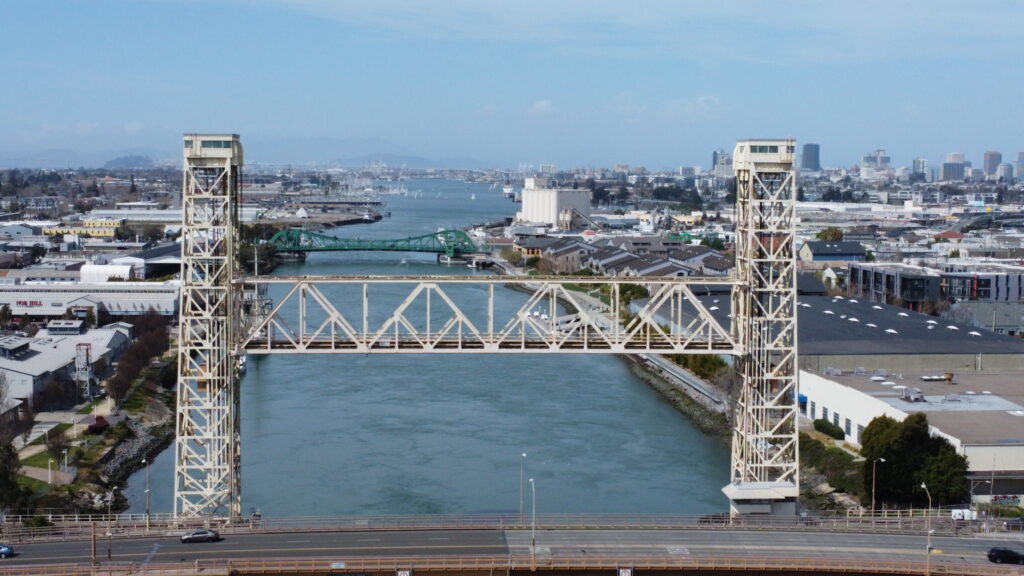
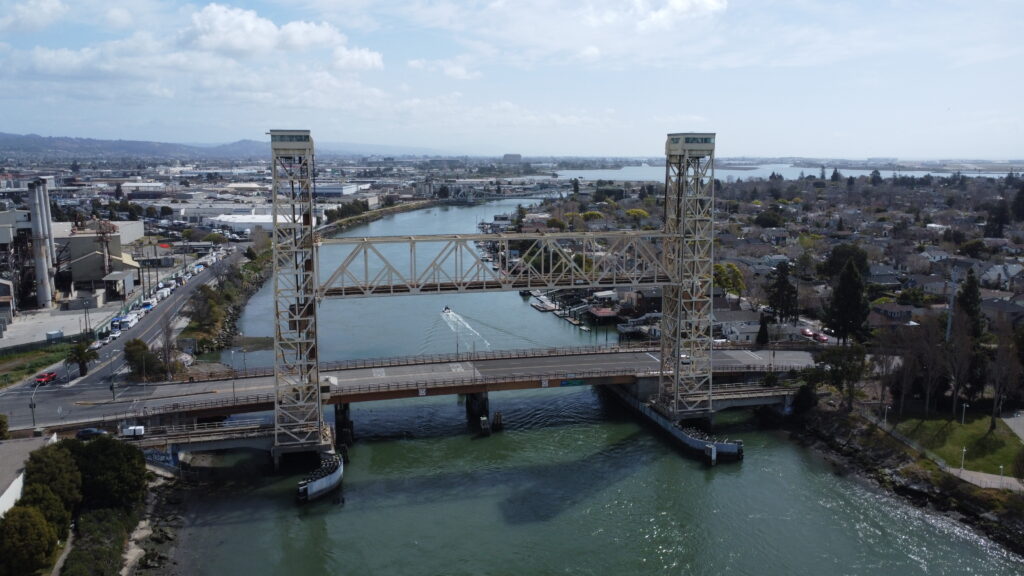
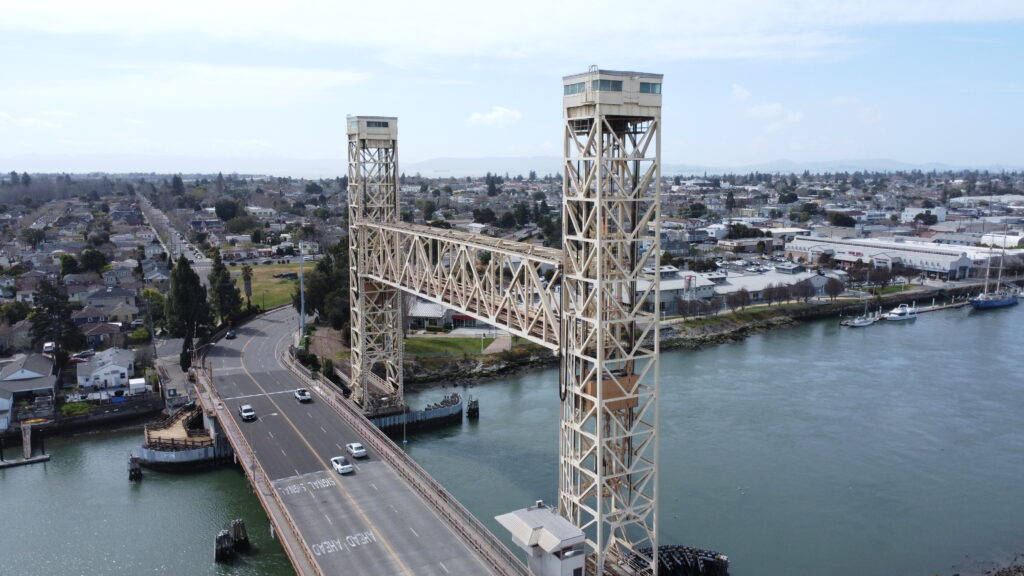
SF Bay Bridge from Treasure IslandSF Bay Bridge from Treasure IslandSF Bay Bridge from Treasure IslandTreasure Island MarinaTreasure Island BargesEquipment on my home layoutPier 80 San FranciscoPier 80 San FranciscoPier 80 San FranciscoView of the logging camp on my home layoutAlameda Channel3d printed resin cake topperAlameda ChannelFruitvale Railroad Bridge, Oakland, CaliforniaFruitvale Railroad Bridge, Oakland, CaliforniaFruitvale Railroad Bridge, Oakland, CaliforniaFruitvale Railroad Bridge, Oakland, California